
How to repair rotting wood without replacing it
Wood rot is a common issue for anyone with outdoor wood structures like decks, fences, or porch swings. It usually starts out of sight and out of mind. Over time, however, it can quietly damage wood until safety is at risk. But how to repair rotting wood without replacing it?
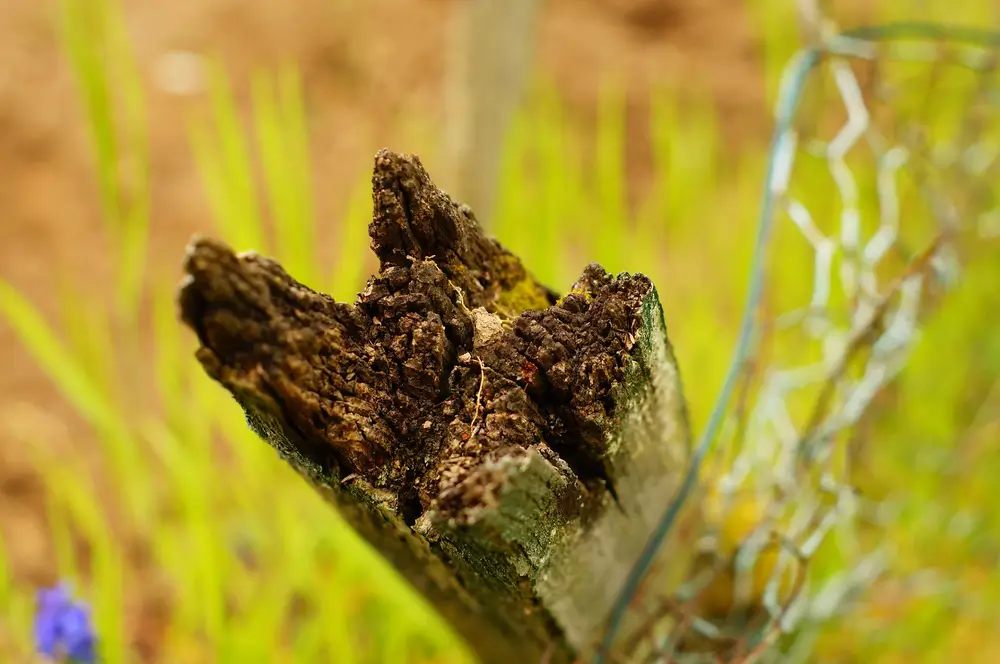
Wood rot happens when wood fibers break down because of fungi. These fungi thrive when there is moisture and enough time for them to grow. If wood stays damp for too long, rot will soon follow.
The conditions that create rot are simple: wood, water, and time. Fungi are always present in the air, waiting for the right moment. When wood gets wet and doesn’t dry out (maybe from leaky gutters, poor drainage, or constant shade), the fungi start breaking it down. The wood softens, darkens, and crumbles. Sometimes this happens quickly, especially after heavy rain or in humid climates. Rot can spread beneath the surface too. A deck board may look fine on top but be so weak underneath that a screwdriver pushes right through.
Untreated rot is a serious threat. It doesn’t go away on its own. As long as moisture is present, fungi will continue to spread and eat away at the wood. At first, the damage might seem cosmetic, but over time, it can lead to soft spots, loose rails, or even collapse. Acting early is key. Repairing wood rot helps keep your outdoor spaces safe, sturdy, and ready for anything the weather brings.
Identifying Types of Wood Rot
Wet Rot Basics
Wet rot is a common problem for homeowners, especially in areas with frequent rain or irrigation. It develops when wood stays damp for long periods. Leaky gutters, water pooling near foundations, or deck boards touching soil are all frequent sources. Moisture allows fungi to thrive, which slowly break down the wood fibers.
You’ll usually find wet rot around window sills, bottom sections of fence posts, and deck boards that feel soft or look discolored. For example, I once lifted a deck board for a customer who thought they had a bug problem. Instead, the wood was spongy and dark, crumbling at the touch. That’s classic wet rot.
The upside? Wet rot is often limited to the area where water collects. If you catch it soon enough, you can usually repair the damage. The fungus behind wet rot does not spread far unless the moisture problem continues. Dig out the soft wood, let the area dry, and you can patch or fill the spot. Quick action makes a big difference here.
Dry Rot Danger
Dry rot is much more serious. It starts with moisture too, but the fungus responsible can move well beyond the original wet area. It can grow through wood, behind paint, and even over brick or masonry to reach new wood. Dry rot can keep spreading, even if the surface looks dry later.
Typical signs include brittle, crumbly wood with deep cracks, fine dust, or even strange mushroom-like growth. If you press a screwdriver into a beam and it sinks in with little effort, dry rot could be the reason. Cotton-like patches or reddish spore dust are further clues. When I see these signs, I know it’s time to stop and assess the structure carefully. Dry rot often means there is more damage than meets the eye.
Repairing dry rot is rarely simple. It can weaken entire beams or posts, making them unsafe. In most cases, especially on load-bearing parts, replacement is safer than trying to patch it. For a detailed explanation, see Sierra Deck Builders’ guide on what is dry rot and why it causes so much trouble.
To sum up: Wet rot usually stays in one place and can often be fixed. Dry rot spreads quickly and can damage the structure. If you find dry rot in a support beam or post, replacing the wood is usually the safest option.
Can This Wood Be Saved?
Homeowners often wonder if they can fix rotted wood or if they need to remove and replace it. Making this decision is critical. Sometimes a little damage can be repaired, but other times, full replacement is safer.
Start by checking if the damage is only on the surface or if it affects the structure. Surface-level issues, like peeling paint or a soft spot on a window sill, can usually be repaired. But if the wood supports weight, such as a porch beam or deck joist, you need to be cautious. Try the screwdriver test: press a screwdriver into the wood. If it goes in with little effort, the wood is likely too damaged. If just the top layer breaks away but you feel solid wood underneath, repair might be possible. If the screwdriver sinks in deep, especially in a support piece, it’s time for replacement.
Quick Checklist: Can I Repair This?
- Is the rot in a non-structural spot?
- Is the wood mostly firm beneath the damaged area?
- Is the affected part less than one-third of the total piece?
- Does the screwdriver stop after the first 1/4 inch?
- Has the cause of the moisture been fixed?
For example, if you find rot in a window sill, you can often remove the soft wood and fill it, as long as the underlying frame is sturdy. But if you inspect a deck support beam and the screwdriver pushes right through, replacement is necessary. Deep crumbling, visible fungus, or any movement in a piece that holds weight are all clear signs to replace the wood. It’s always better to do the hard work now than risk bigger problems later.
Eliminating the Source of Moisture
Many people try to fix rotted wood with filler or paint, but the damage keeps coming back. The main reason is simple: moisture is still getting in. Wood rot is caused by fungi, and those fungi need water. If you don’t stop the water, your repair will fail, no matter how careful you are with the patch.
- Leaking gutters or downspouts
- Roof leaks dripping onto wood
- Poor drainage or standing water near posts
- Sprinklers soaking siding or deck boards
- Condensation from HVAC or plumbing
- Cracked caulking around windows and doors
Picture this: mopping up a puddle while the tap keeps running. It doesn’t solve the problem. The same idea applies with wood rot. Before you start any repairs, find and fix whatever is letting water reach the wood. Maybe it’s a broken gutter, or water dripping from an air conditioner. Take your time and check carefully. Once the wood stays dry, your repair can actually work, and you won’t have to fix the same spot over and over again.
Preparing the Damaged Area
This step is all about clearing out the rotten wood. Use a stiff putty knife, screwdriver, or an old chisel to scrape away the soft, crumbly sections. Be thorough. Any spongy or weak wood left behind can keep rotting underneath your repair.
Dig until you reach solid, healthy wood. You might end up removing more than you expect. If you find that most of the board or post is damaged, remember earlier advice: it’s usually safer to replace heavily rotted pieces. Patching only works if there’s enough good wood left to hold the repair.
Before moving on, make sure the area is completely dry. If the wood feels damp or cool, wait. You can use a fan or even a hair dryer to help speed up the process. Open nearby windows or vents if you’re indoors. Give it at least a day or two if the weather is dry. Any leftover moisture can cause repair products to fail and start the rot again.
Safety matters too. Removing old wood creates a lot of dust, especially if you sand the edges. Wear a dust mask and goggles, especially if working overhead. Gloves are helpful to avoid splinters. Take your time during this stage. Careful prep work makes your repair last much longer.
Strengthening Weak Wood
If you spot wood rot early, the wood is often still salvageable. Sometimes it just feels a little soft or spongy along the bottom of a deck post or fence board after a rainy season. The positive part is you don’t have to replace the whole thing. You can make the wood solid again by using wood hardeners, consolidants, or penetrating epoxies. These products soak into the damaged area and help restore its strength. Two-part epoxies, in particular, work well for porch trim or older beams that need extra support.
For wood that is especially soft or porous, try drilling small holes (about 1/8 inch) into the affected area before applying the consolidant. This step allows the product to soak deeper and strengthen all the weak spots from within. Always follow the drying times on the label, even if you’re eager to move on to the next step. Rushing can weaken the repair.
Quick tip: For best results, apply epoxies or wood hardeners to wood that is dry and free of dust. Use disposable brushes or squeeze bottles for smooth, even coverage. Let everything dry fully before moving forward. Patience leads to a stronger repair!
Restoring the Surface
After the wood is firm and reinforced, you can focus on fixing the surface. This is where you fill in the missing or damaged areas so the repair blends into the rest of the wood. Choose a high-quality epoxy or exterior wood filler for this job. Follow the mixing instructions closely. Press the epoxy deep into every gap, making sure it reaches all the corners and edges. For bigger repairs, shape the epoxy with a putty knife or your gloved hand while it’s still soft.
- Fill the prepared area with epoxy or wood filler. Press it into every space.
- Shape the repair to match the original wood as closely as possible.
- Let the product cure fully. This may take several hours, depending on the brand.
- Once dry, sand the repair smooth. Start with rough sandpaper, then use a finer grit for a smooth finish.
- Check all edges and corners. Smooth out any sharp spots for a clean look before you paint or stain.
Take your time with these steps. A careful repair job can make the damage disappear. Once the surface is even and smooth, your wood will look and feel like new. This attention to detail will help your fix last for years and keep the area looking its best.
Sealing and Protecting Repairs
Sealing your repair is the last step to make sure wood rot doesn’t return. Once the area is shaped and sanded smooth, start with a high-quality exterior wood primer. Even if your wood filler says it’s weather-resistant, primer creates a better surface for paint or sealant and keeps out moisture. Use a brush to get primer into every seam and edge.
After priming, choose a durable exterior paint or stain that matches the rest of your wood. For decks, fences, or outdoor trim, a strong wood sealer is another good choice. Apply paint, stain, or sealer evenly and cover all exposed areas. A good brush helps you reach small spaces and corners. Avoid using a low-quality brush, as it can leave streaks and miss spots.
Remember, sealing won’t help if you haven’t stopped the source of moisture. Fix any leaks or drainage problems before you finish. Water sneaking back in will ruin even the best repair. Use flexible caulk at joints, keep gutters clear, and check your paint or sealer every couple of years. Taking care of these small tasks helps your repairs last and keeps your wood protected long-term.
When Not to Repair
Sometimes, the best option for rotted wood is replacement. If you see wood that crumbles to the touch, has deep cracks, or shows signs of advanced dry rot like fungus growth, repairs will not last. This is especially true for structural pieces, such as support beams or deck framing. If you press a screwdriver into the wood and it sinks in easily, the strength is gone and patching is unsafe.
Repeated repairs are another warning sign. If you have already fixed the same spot and rot returns, the underlying problem is not solved. In these cases, replacement stops the cycle of damage. Cosmetic repairs work for things like window sills or trim. But when the damaged wood supports weight or keeps failing, installing new material is safer and more cost-effective. It prevents bigger problems and extra work down the line.
Long-Term Prevention Strategies
Dealing with wood rot on decks, fences, or pergolas can turn into a big hassle if you ignore small issues. Stopping rot before it starts is about doing simple things on a regular basis. You don’t have to be an expert. Just pay attention to changes in wood and take action when you spot early signs.
Airflow makes a big difference. Make sure there’s open space under decks and around posts so wood can dry quickly after storms. Every few months, walk around and look for peeling paint, soft patches, or gray and black spots. A quick check with a screwdriver helps catch rot before it spreads. Picking better materials matters too. Quality lumber or composite boards can handle wet weather much better than basic wood. If you want help deciding which decking material is best for your climate, check out Sierra Deck Builders’ guide on best deck materials and how to choose the right one. Their tips make it easier to choose what lasts.
- Clear away leaves and debris from decks, fences, and wood structures.
- Paint or seal outdoor wood every couple of years, especially after rainy seasons.
- Fix leaks and redirect downspouts so water can’t collect near wood.
- Use pressure-treated lumber or good-quality composites for any wood that touches the ground.
- Trim bushes and vines so air can move freely around posts and beams.
- Check high-risk areas, like the bottom of porch columns, more often.
Staying ahead of wood rot is a lot easier than dealing with big repairs later. Take thirty minutes a few times a year to walk around and check for trouble. Those small efforts keep your deck safe, strong, and ready to enjoy.